Find Your Perfect Foundation Shade at Makeup Summer Camp

Do you know what separates an amateur makeup artist (MUA) from a professional? Or someone who knows how to do makeup vs. someone who looks like they didn’t know how to use spackle?
Blending.
Blending and having the right shade of makeup is everything when it comes to makeup application and professional-looking results.
If you need any proof of this, find pictures of your mom or aunts from the 90s. For some reason, no one blended back then, and you can see their face is a distinctly different color than their neck.
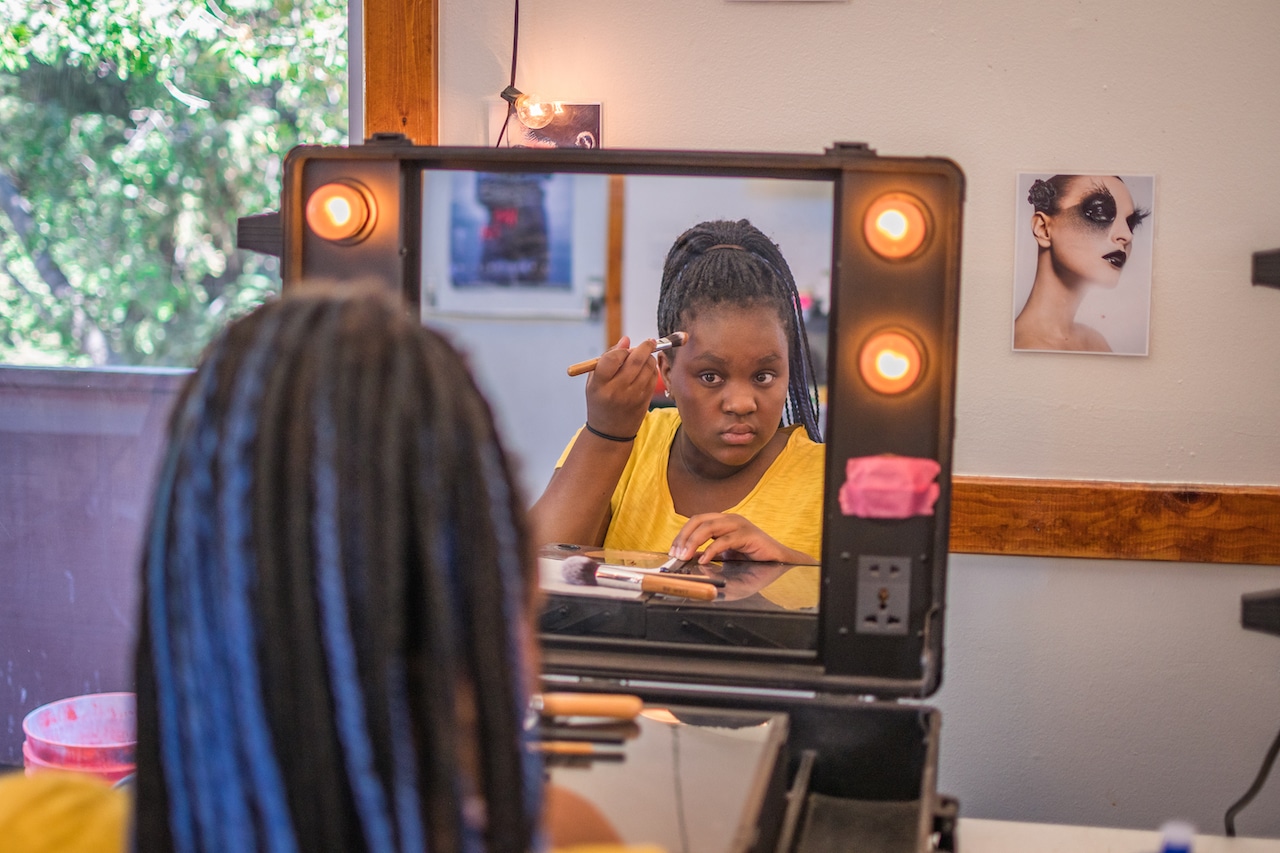
At makeup camp, we’ll focus on one of the most essential aspects: finding the right foundation shade.
What is Foundation and What Does it Do?
Foundation is well-named. It literally acts as the foundation for the rest of your makeup. To be clear, the foundation isn’t concealer. They’re two different things, and most people need both.
Concealer is for small spots, like pimples and under-eye bags, and goes on after primer but before foundation.
The concealer acts as a color-correcting spot-treatment, and then the foundation evens everything out afterward – unless it’s the wrong color. It’s hard to even out color if you’re using the wrong color for your skin, but more on that later.

How to Apply Foundation
Before you put on makeup in the morning, you should wash your face with a gentle cleanser. Then, take a moisturizing primer with sunscreen in it (that’s essential, skin protection is no joke!) and apply it all over your face. Once you’ve covered your face, use whatever is left on your hand/brush/blender and work it about a third of the way down your neck.
Wait about five minutes as the primer sinks into your skin. This will ensure you have the perfect canvas to apply foundation to. If you use foundation when your primer is still wet, it can change the consistency and give you uneven coverage.
Once your primer is dry, you can apply your concealer. Let it sit for about a minute, but not much longer, as you do want it to blend somewhat with your foundation.
Finally, once you have your concealer on where you want it and you’ve blended it most of the way out, put a pump of foundation on the back of your hand.
If you’re using your fingers to apply it, make one big swipe across your forehead (horizontally), one smaller one down your nose, one swipe on each cheek, and one small vertical one under your lips, towards your chin.
Use two fingers to blend those lines around your face using circular motions.
If you’re using a beauty blender or a brush, apply the same way and then blend with circular motions around your face.
To avoid the ’90s face, blend your foundation at least 1/3 of the way down your neck.
When you’re blending under your jawline and onto your neck, there shouldn’t be too much product on your brush/fingers/blender. Just enough to make the foundation color blend in with your natural skin.
Find the Right Foundation Shade at Makeup Camp
Now that you know how to apply foundation, and what you need to do it, let’s talk about getting the right color for your skin tone.
To do that, you need to identify your undertones (and learn what those are). Your undertones are the colors in your skin tone and dictate what you look good in.
There are three main undertones: neutral, cool, and warm. You can be neutral but closer to warm and vice versa.
How to Identify Your Undertones
The best way to find out what undertones you have is to go into the sunlight or a room with a lot of natural (!) light and look at your wrist.
With your palm flat and facing the sky, take a look at the veins on your wrist. What color are they?
If the veins look more blue than green, you have cool undertones. If they look more green than blue, your skin has warmer tones.
If it looks blue the first time you look, then green, then blue, and back and forth – you’re neutral, and you can wear pretty much whatever colors you want!
Shopping for Your Skin Tone
Once you know what your undertones are, you know which of the three categories, in each shade group you should try on.
Most beauty brands have at least three sets of shades, light, medium, and dark.
Within each shade, there should be at least one choice for light-neutral, light-cool, and light-warm tones, if not more.
If you have very dark skin, you’ll have more luck with black-skin specific brands or those that offer an extensive range of shades. Fenty Beauty is well known for this, but there are dark-shade-only companies as well.
Get Help From Professionals
If you want to have a foundation shade before you come to camp and you can’t find your tones yourself, Sephora locations have a tool they can use to scan your skin and find the best color match for you.
If you’d rather wait until it’s time to go to makeup camp, our counselors, who are MUA’s themselves, will be glad to help.
If all else fails, it’s possible to make a custom shade by mixing two colors together. Makeup is a science, and that alone is proof!

Going to Makeup Summer Camp
We encourage our campers to bring their own makeup for their own use if they wish. We have professional-grade products on hand for glamour and special effects.
Not signed up for makeup camp at Pali Adventures yet? What are you waiting for?! Get more information here.